
Step-by-Step Guide
How to Add Products from Inkthreadable
Step 1. Login to Inkthreadable account & your WordPress Website
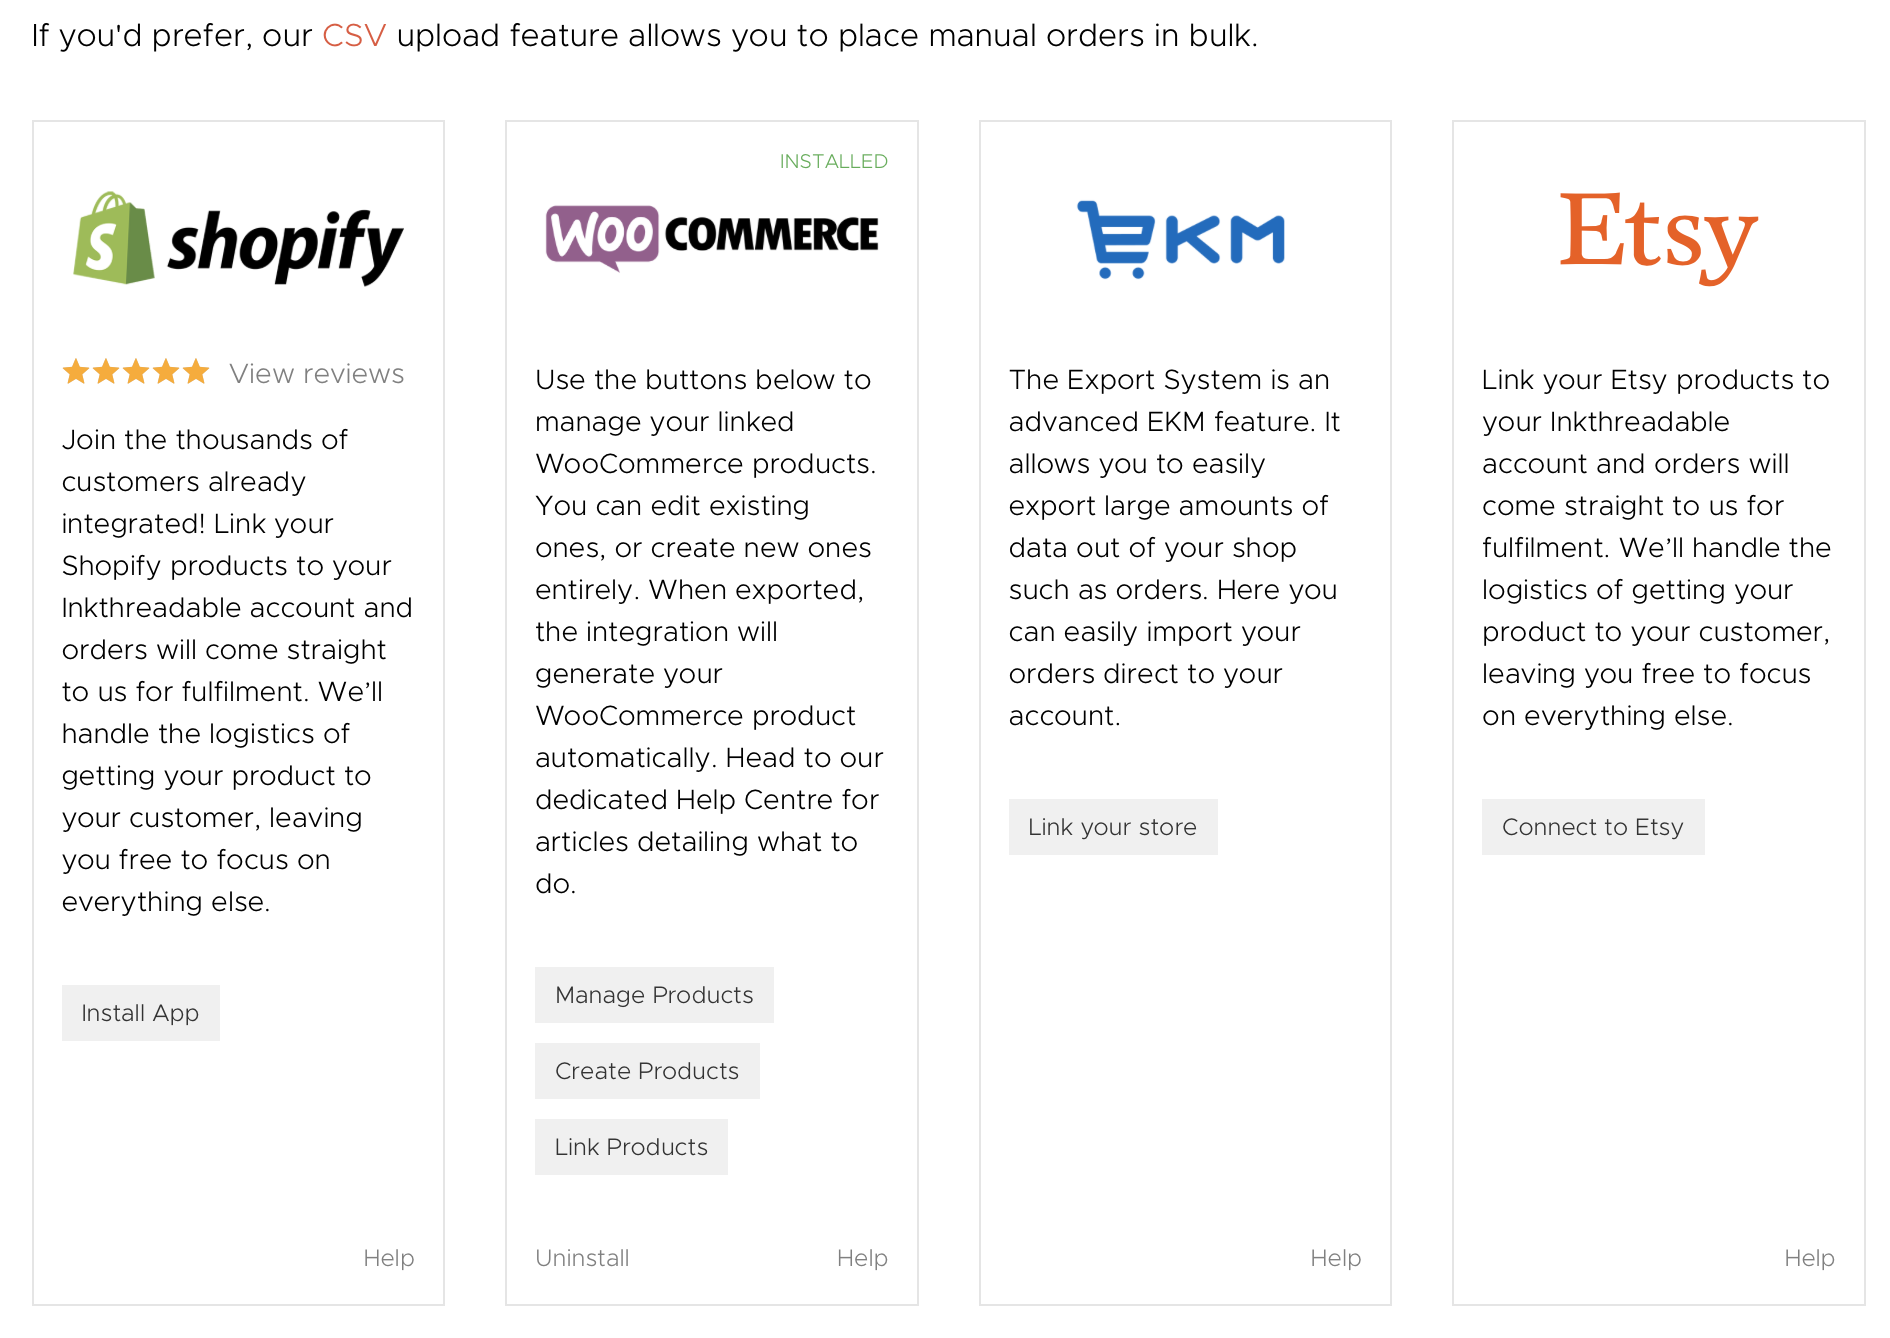
Step 2. Go to https://www.inkthreadable.co.uk/integrations
Step 3. Click on ‘Manage Products’ under the WooCommerce icon
(Step 2 & 3 you can now also go straight to the Product List)
Step 4. Choose the product you want to upload
Step 5. Click the Export Product Icon (highlighted in orange below)

Step 6. Choose your Product Options aka Sizes and Colours using the below icon. If you add any unwanted sizes or colours, use ‘remove selected’.
![]()
NOTE: You MUST have all sizes for the colour you want. Eg Red: Large, Red: Medium, Red: Small. Blue: Large, Blue: Medium, Blue: Small
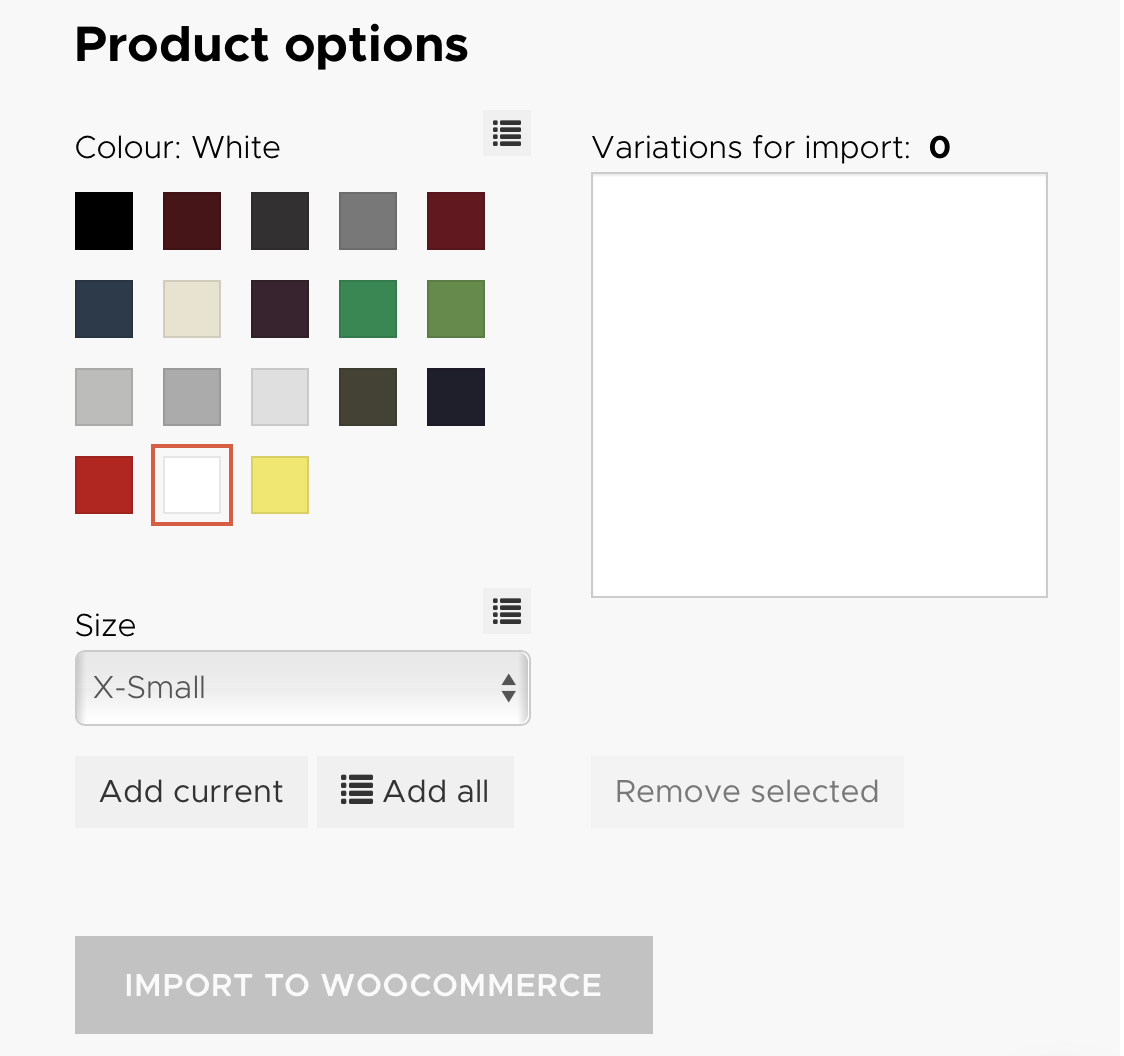
Step 7. Once you are happy with all the fields that are filled in (check Title) Select ‘IMPORT TO WOOCOMMERCE’
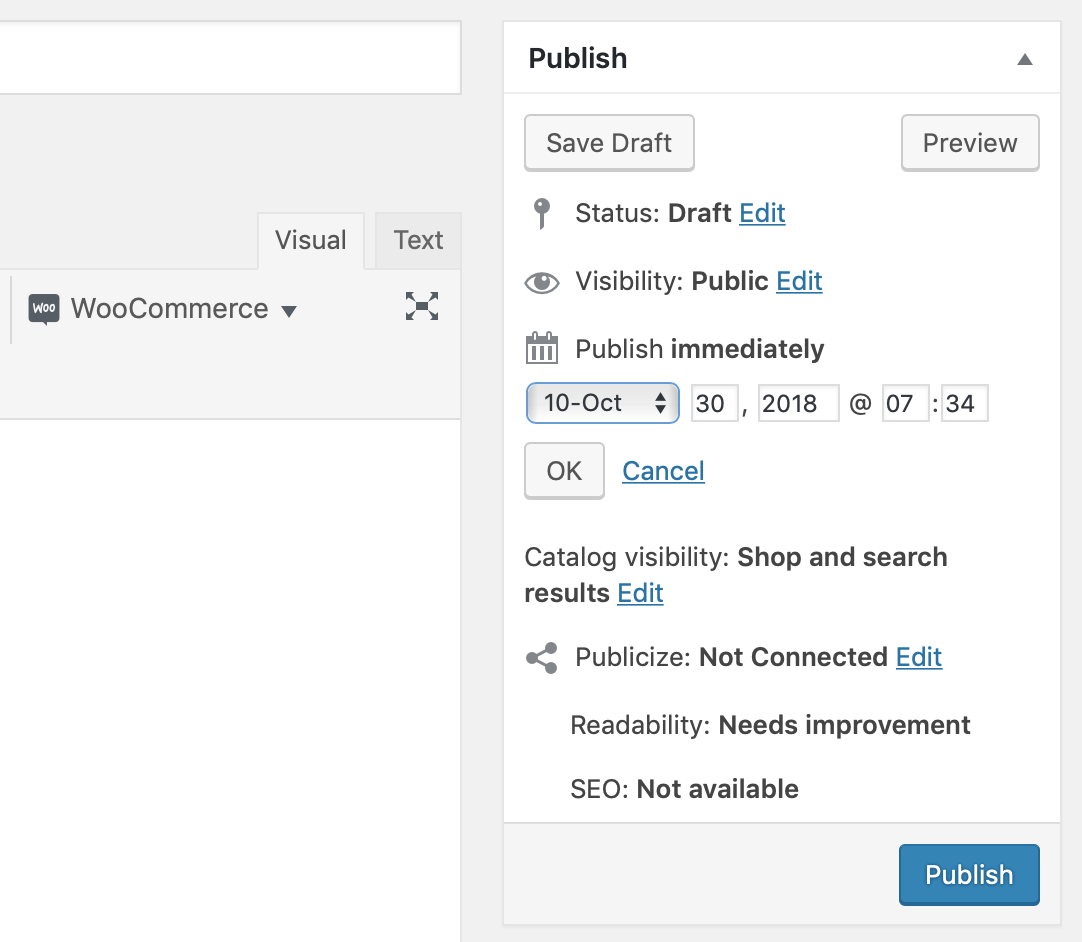
Step 8. Once Upload is done go to your WordPress Website > Products > All Products. Click on the latest uploaded product from Inkthreadable.
- To schedule product, select a time for scheduling in the top right corner.
- Products will default to category ‘New’. Select the appropriate categories and unselect New
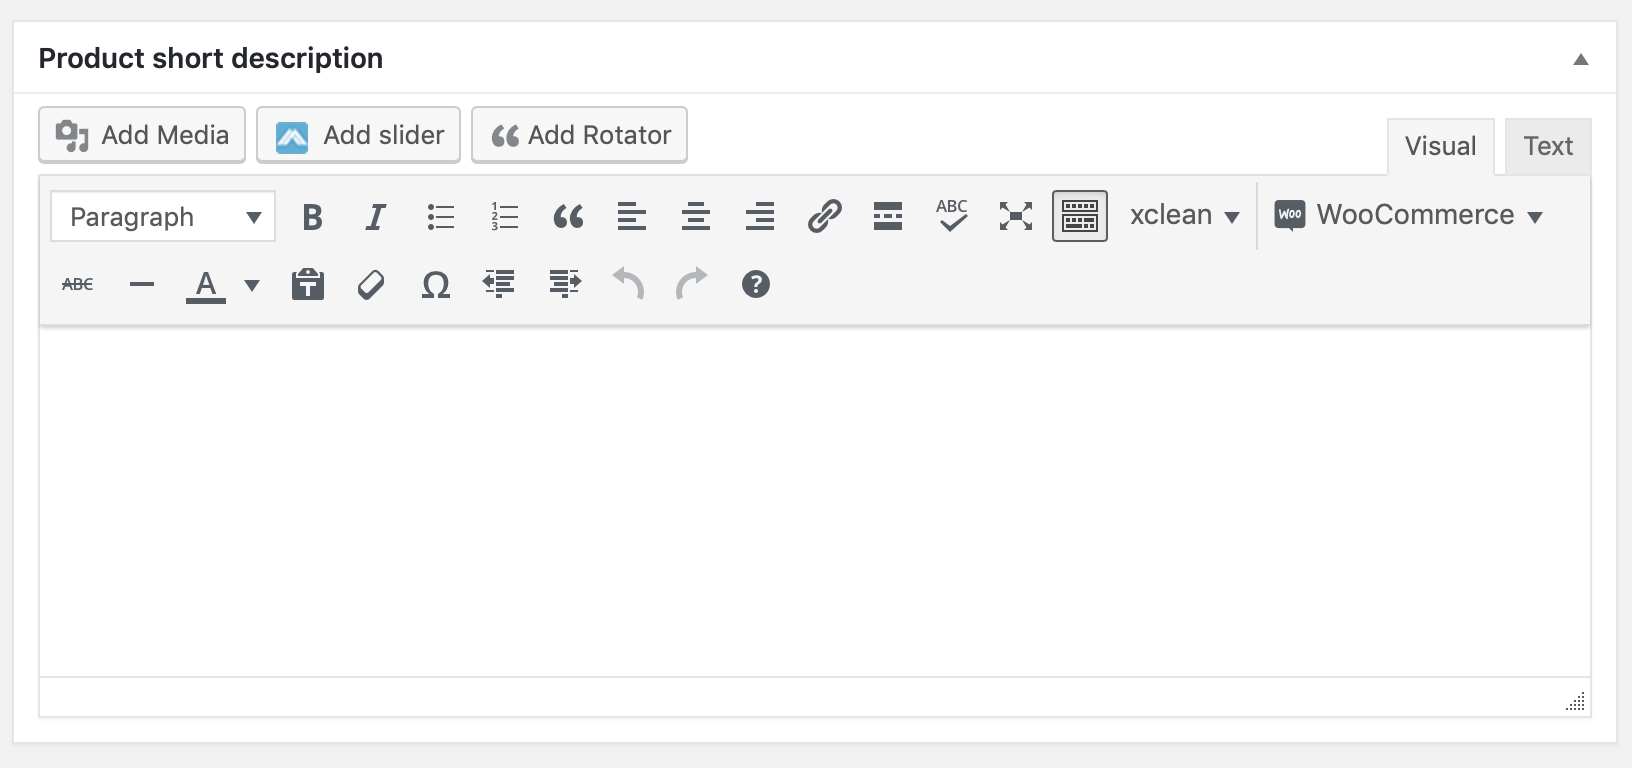
- Add Sizing Chart in the Top Text Box
- Go to the Products Inkthreadable Page
- Sizing Guide > Right Click on Sizing Chart Image & Save Image AS
- Make sure to change the image name before uploading
- Go back to your WordPress site, click in the Top Text Box where you want the image to be placed & Click ‘Add Media’
- Add additional text on products in the box further down the page (no need for the product title as this will automatically be displayed)
Once all done. Click ‘Update’